If you have a 5I20 or 4I65 you are in the right place otherwise follow these directions for other mesa cards.
This is a step by step guide showing how to install xilinx and make bitfiles for your Spartan2 (5I20, 4I65) MESA boards running running HOSTMOT2 in LINUXCNC or at least what I encountered along the way.
Bitfiles for other boards should be built with Xilinx ISE 14.5 or greater which is covered in another tutorial. This software was installed on Ubuntu 10.04 from the live CD install.
Get the software
Navigate to the xilinx website and download the xilinx ISE Foundation tar/gz file. Notice to the right of the download link you can obtain a Registration ID. It is free however you will need it to install the webpack software. Save these numbers for later on. You can also download the latest service pack here or do it as an update during the install. I chose ver 9.2 from the Archives because I’m told it is the most compatible version for the widest range of MESA boards.
Once you have downloaded the file unpack it. Open a terminal window and navigate to that directory. In my case it was /tom/xilinx/ISE_DVD_92i/.
Next type in:
sudo ./setup
and the install should begin. If it complains about not having libstdc++ 5 (I didn't catch the exact libstdc++ error I got.) you can download and install it from a terminal window as shown below then run the setup again.
wget http://mirror.pnl.gov/ubuntu//pool/universe/g/gcc-3.3/libstdc++5_3.3.6-20~lucid1_i386.deb

sudo dpkg -i libstdc++5_3.3.6-20~lucid1_i386.deb
You should be greeted with the following splash screen
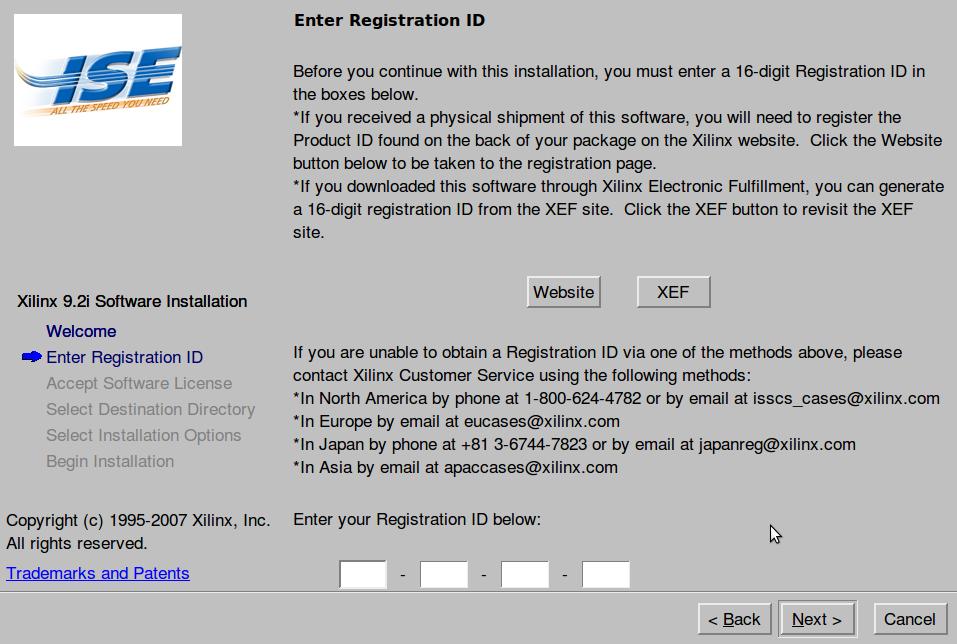
Click on the Next> button and you will be prompted to enter your registration id.
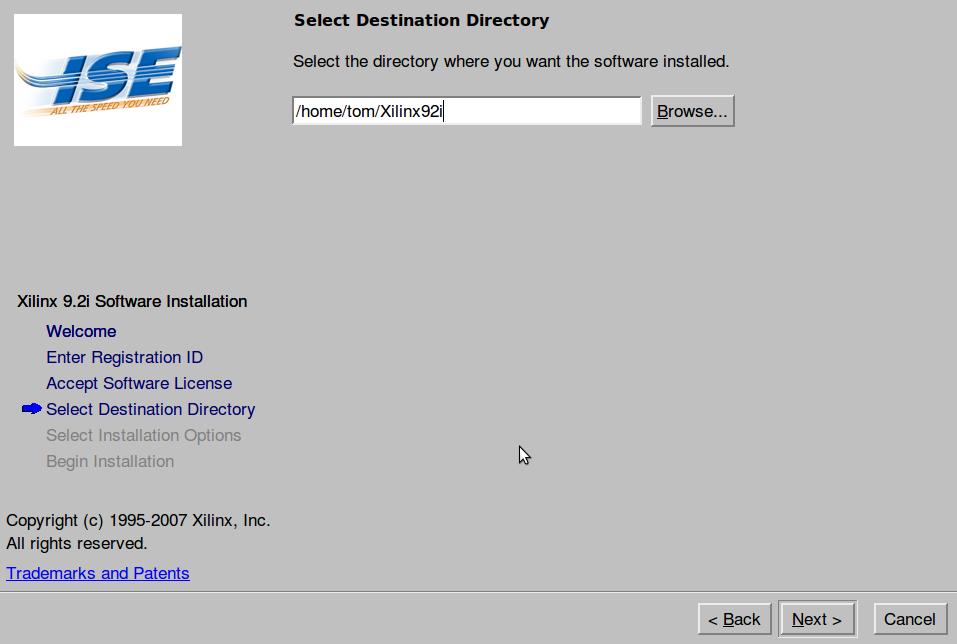
After entering it, you can pick the destination directory for the install. I chose the default.
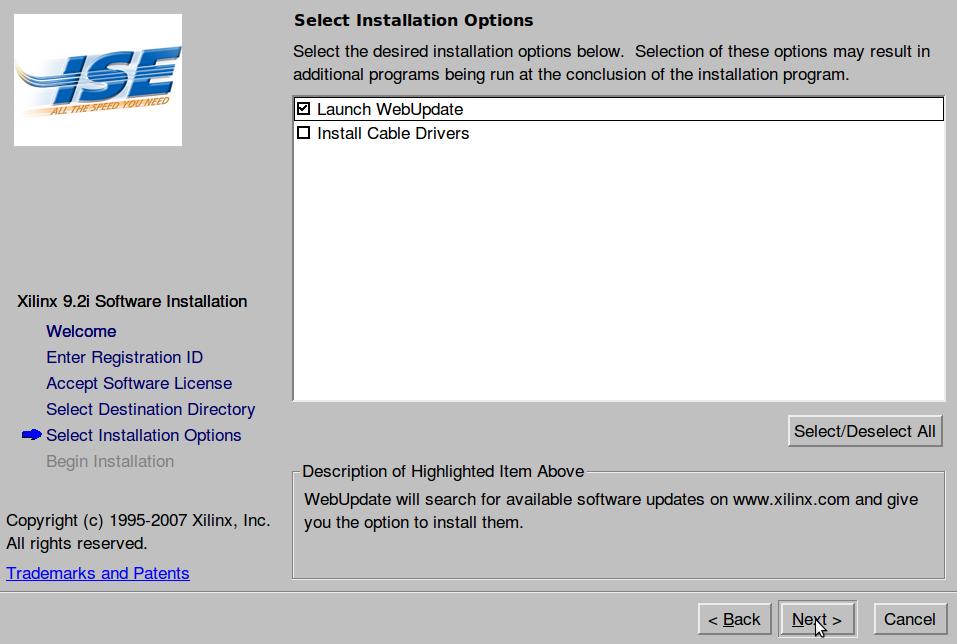
After choosing your installation options you will be presented with the option for a web update. This will download the latest servicepack after the install has completed.
Once you have installed xilinx, you will need to install GHDL by typing the following in the terminal window. (You may or may not need to add it to the repository but the commands are shown.)
sudo add-apt-repository ppa:pgavin/ghdl
sudo apt-get update
sudo apt-get install ghdl
Make sure you have the latest mesa sourcefiles for your board before you begin.
To launch the program, open a terminal and navigate to where you installed Xilinx 9.2 and type:
sudo su
source settings.sh
ise
This will run as root, set up the environment and launch ISE Webpack.
Click on Files → open project and navigate to where your mesa source is located.
In this example it is: /home/tom/linuxcnc/mesa/5i20/CONFIGS/HOSTMOT2/SOURCE/
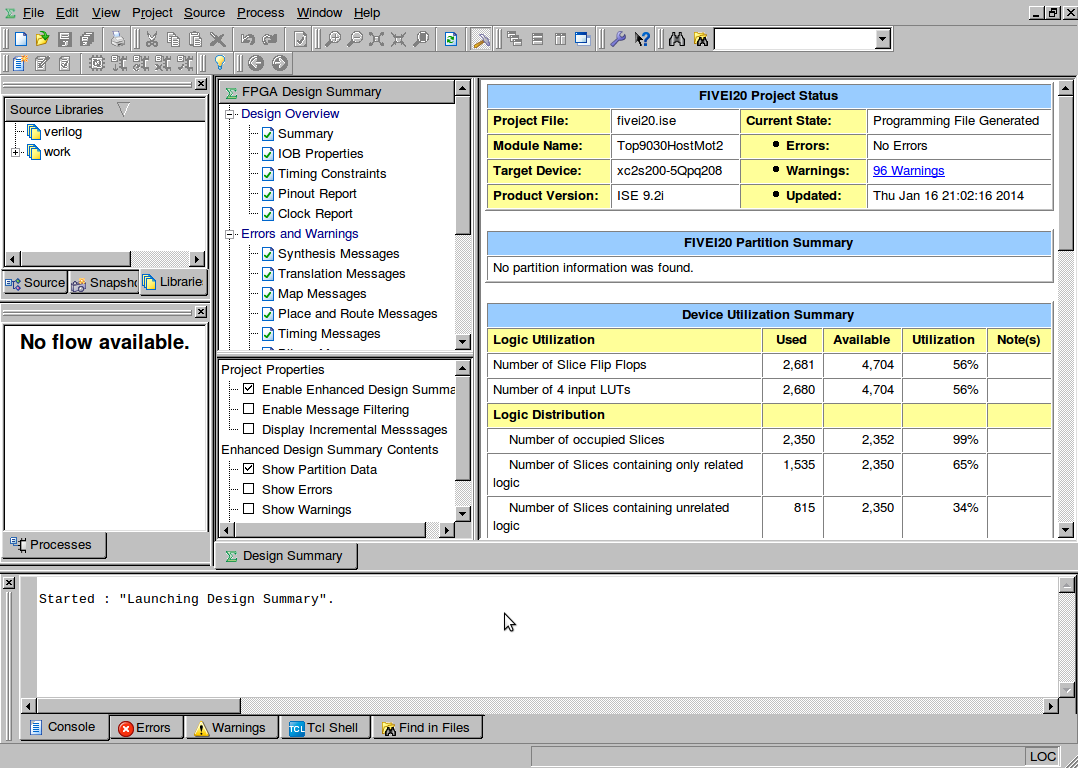
Open the fivei20.ise project file:
You will want to make a copy of one of the .vhd pin files to edit that will best match what you want. It is not a good idea to edit the original ones.
A Bit on Bitfiles
This is not a tutorial for editing bitfiles however here are a few things I have figured out about them:
-
The first array in the .vhd file is the moduleIDType array with 32 entries and the module ID fields are:
'TAG, VERSION, CLOCK, INSTANCES, BASE ADDRESS, NUMBER OF REGISTERS, STRIDES, MPBITMASK'
-
If you add or remove a function from the array you need to add or remove a NullTag entry so the array length is 32.
-
A couple entries of interest are the TAG entry which is the function name and the INSTANCES entry which designates how many entries it appears in the PinDescType array below it.
-
The INSTANCES for the IOPortTag is determined by the number of headers the card has. For example a .vhd file with _48 suffix will have 2, a _72 will have 3, a _96 will have 4.
-
The PinDescType array will vary in length depending on the card but will describe the functions of the IO pins. These should match up with any daughter card IO that is connected so the functions perform as expected.
-
To use SSerial on the 5I20 or 4I65 you need to use a different ucf file. This is due to limitations in ISE prior to about V 11. Use 5i20ss.ucf or 4I65ss.ucf for sserial configs. It needs to be edited in the .ise file so there should be an .ise file for ss builds and one for non ss builds.
-
To do this, open the Libraries tab as shown below. Open the work folder by double clicking on it. There you should see a file 5i20.ucf. Right click on it and Remove the file. Now right click on the work folder then select Add Source and add the 5i20ss.ucf file instead. Now go to the File menu and Save Project As… and save it as 5i20ss.ise.
-
Time to build the file
Once you have edited your pin file you need to add the vhd file to the library.
The top left window shows 3 tabs, Source, Snapshots, Libraries. Select Libraries and click on work.
A list of all the source files will be seen then. Right click on work and Add Source then navigate to your new pin.vhd file and add it to the library.
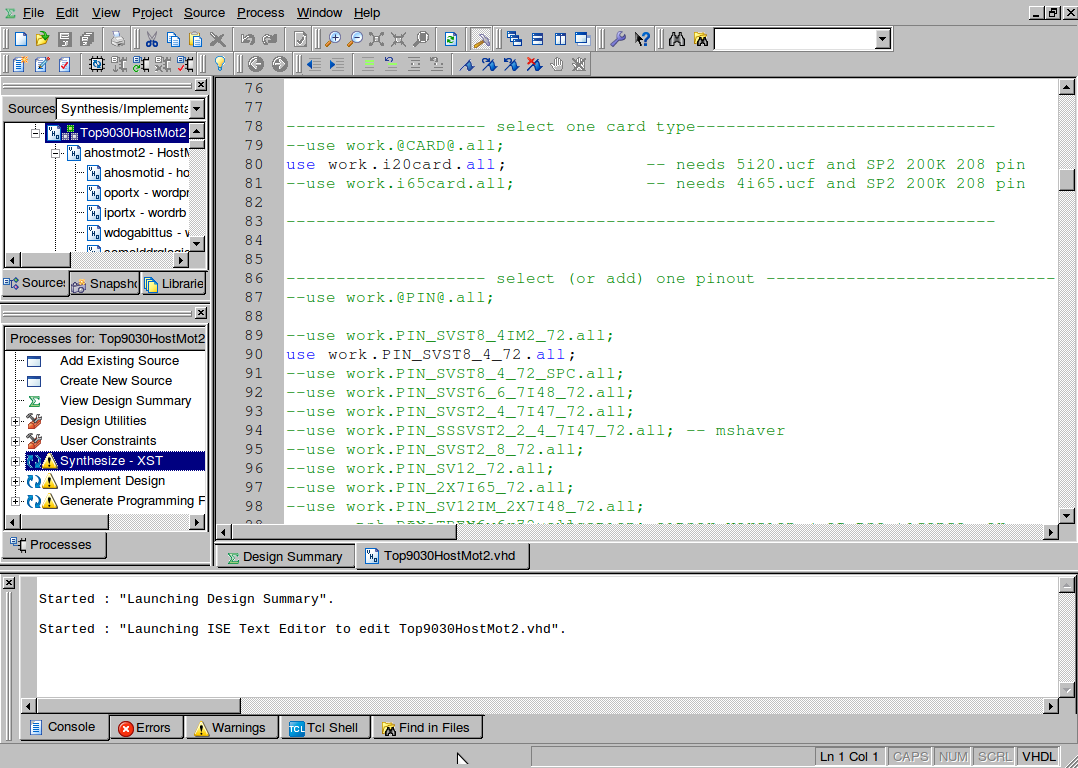
Now chose the design pane. The top level file should have a little green pawn shop symbol by it double click on that file.
Top9030HostMot2 - dataflow (Top9030HostMot2.vhd)
Scroll down in the file and clone one of the pinout lines (and comment out the currently selected one) as shown below.
For example:
--use work.PIN_SVST8_4_72.all;
Scroll up a bit in the file and make sure the proper board is selected.
For example:
use work.i20card.all;
Ok save the file (control s).
You will want to change the synthesize setting to optimize for speed so right click on Synthesize - XST in the Processes window as shown:
Under Synthesis Options set Optimization Goal to Speed instead of area an click on OK.
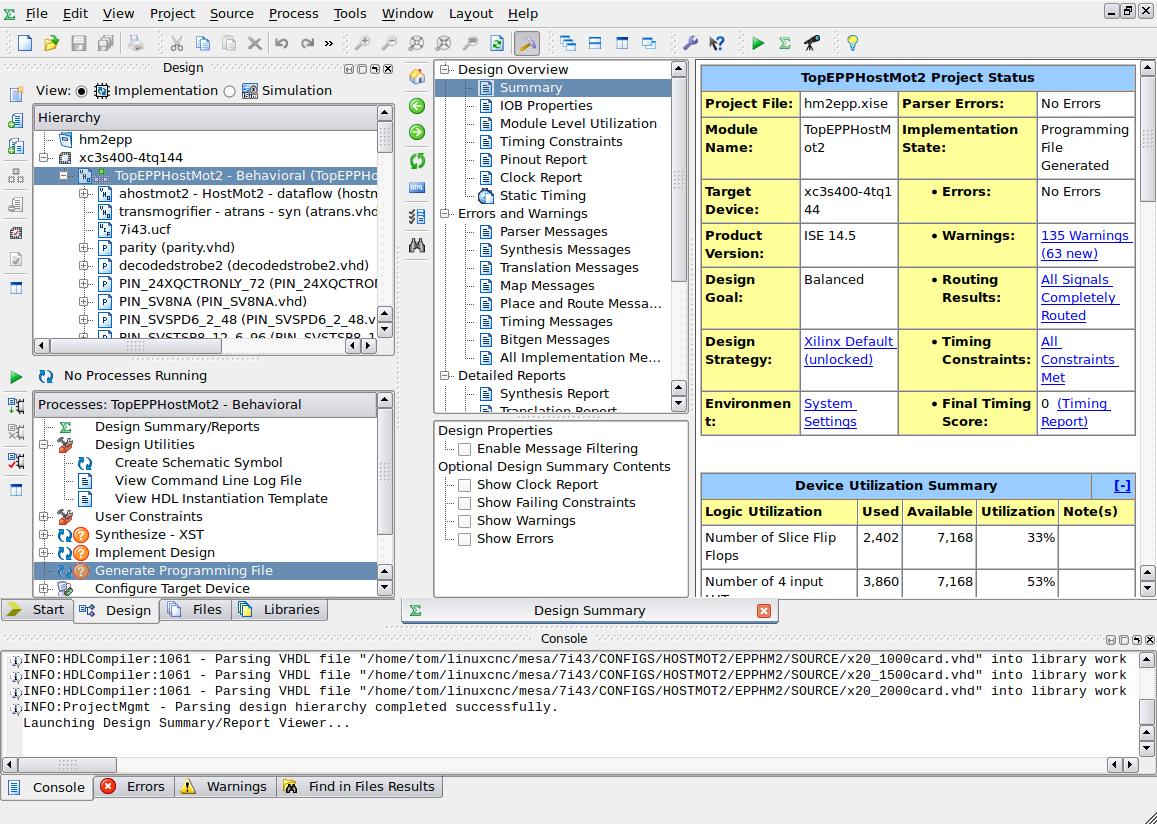
Now you should be good to go so double click on Generate Programming File in the pane to get a .bit file.
Copy and rename the file
The bit file will be located in the source directory and named TopE9030HostMot2.bit in this case.
When it is done, navigate to the directory linuxcnc looks for your bitfiles and copy the new file over renaming it as you do:
cd /lib/firmware/hm2/5i20/
cp /home/tom/linuxcnc/mesa/5i20/CONFIGS/HOSTMOT2/SOURCE/Top9030HostMot2.bit /lib/firmware/hm2/7i43-4/SVST8_4_72NEW.BIT
That’s it!
I hope this was in some way helpful.


